Locksmith Guides22 min read
Home Security Checklist: 10 Ways to Protect Your Property

By Roadrunner Lock and Key ·
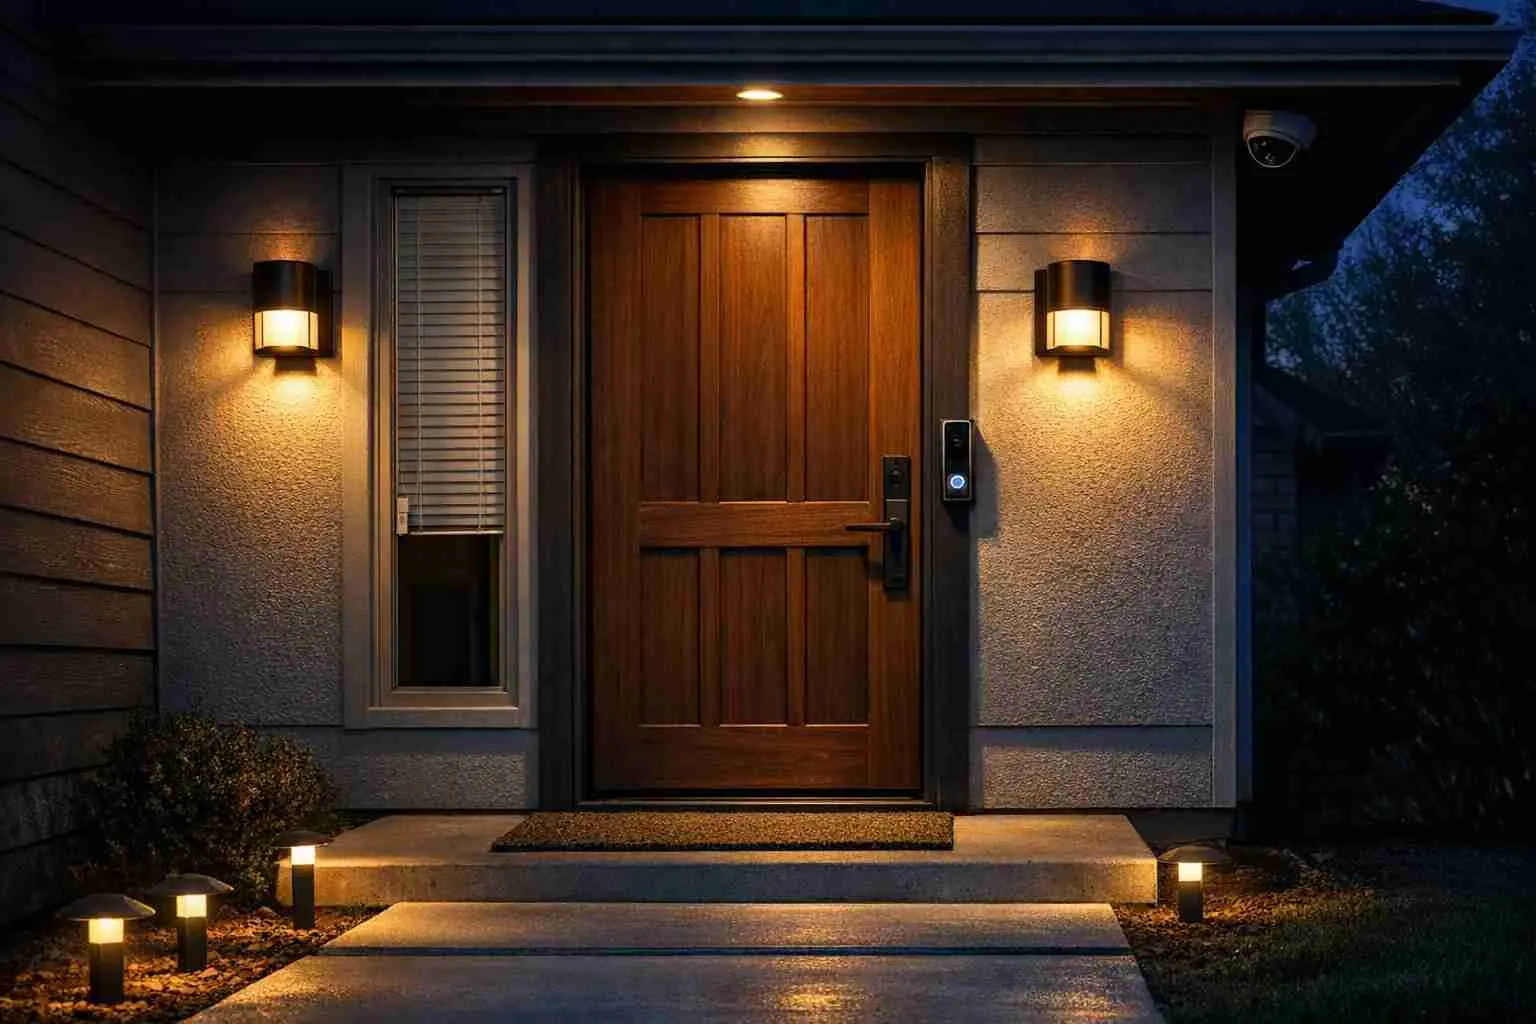
Want to secure your home effectively? Start with these 10 proven steps to deter break-ins and keep your property safe.
In the U.S., a burglary occurs every 26 seconds, costing homeowners an average of $2,800 per incident. Yet, simple upgrades like reinforced locks, motion-activated lights, and a professional security system can reduce risks significantly. Here's a quick overview of the key strategies:
- Upgrade Exterior Door Locks: Use ANSI Grade 1 deadbolts and reinforce strike plates with 3-inch screws.
- Install Motion-Activated Lights: Illuminate entry points and blind spots to deter intruders.
- Secure Windows: Add pin locks, security film, and track blockers for extra protection.
- Invest in a Security System: Homes with monitored alarms are 3x less likely to be targeted.
- Add Security Cameras: Cover main entry points and use cameras with night vision and remote monitoring.
- Reinforce Door Frames: Strengthen hinges and frames to resist forced entry.
- Secure Sliding and Garage Doors: Use anti-lift devices and upgrade garage-to-house doors.
- Update Smart Device Codes: Replace default settings, use strong passwords, and enable two-factor authentication.
- Create a Nightly Routine: Lock doors, arm your system, and close blinds every night.
- Take Action: Combine physical barriers and visible deterrents to make your home less appealing to burglars.
10-Step Home Security Checklist to Protect Your Property
Must-know DIY Home SECURITY Tips For Homeowners
1. Upgrade and Replace Exterior Door Locks
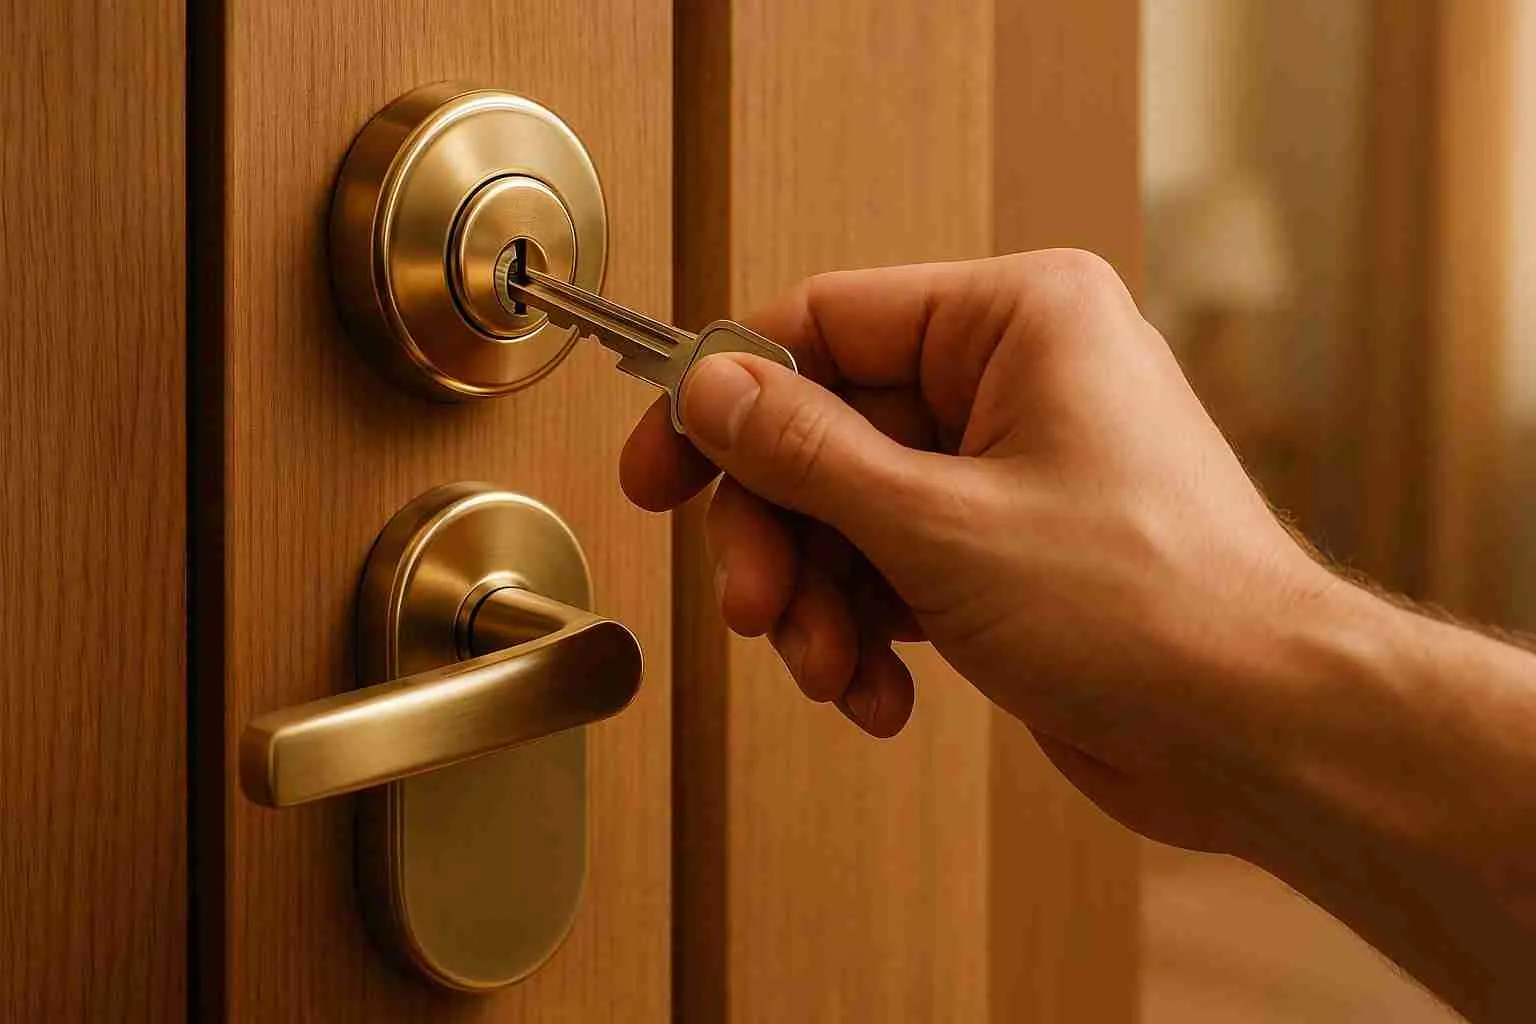
Your exterior door locks are the frontline of your home’s security. Investing in high-quality deadbolts can make a big difference in protecting against break-ins. Most intrusions happen because intruders kick the door in, and weak locks or frames often fail after just a couple of kicks.
A reliable deadbolt should have a one-inch throw, this is how far the bolt extends into the door frame, making it harder to pry open. To resist drilling, look for locks with hardened steel components, including anti-drill pins and plates. But even the best lock is only as strong as its installation. Swap out the standard 3/4-inch screws for 3-inch screws that anchor into the wall stud. This simple upgrade, costing around $5, can significantly improve your door’s resistance to forced entry.
If you’ve recently moved, lost a key, or had contractors working on your home, it’s smart to rekey or replace your locks. You never know who might have copies of old keys. Roadrunner Lock and Key offers professional rekeying services, giving you peace of mind without the expense of replacing all your hardware.
Choose ANSI Grade 1 or 2 Deadbolts
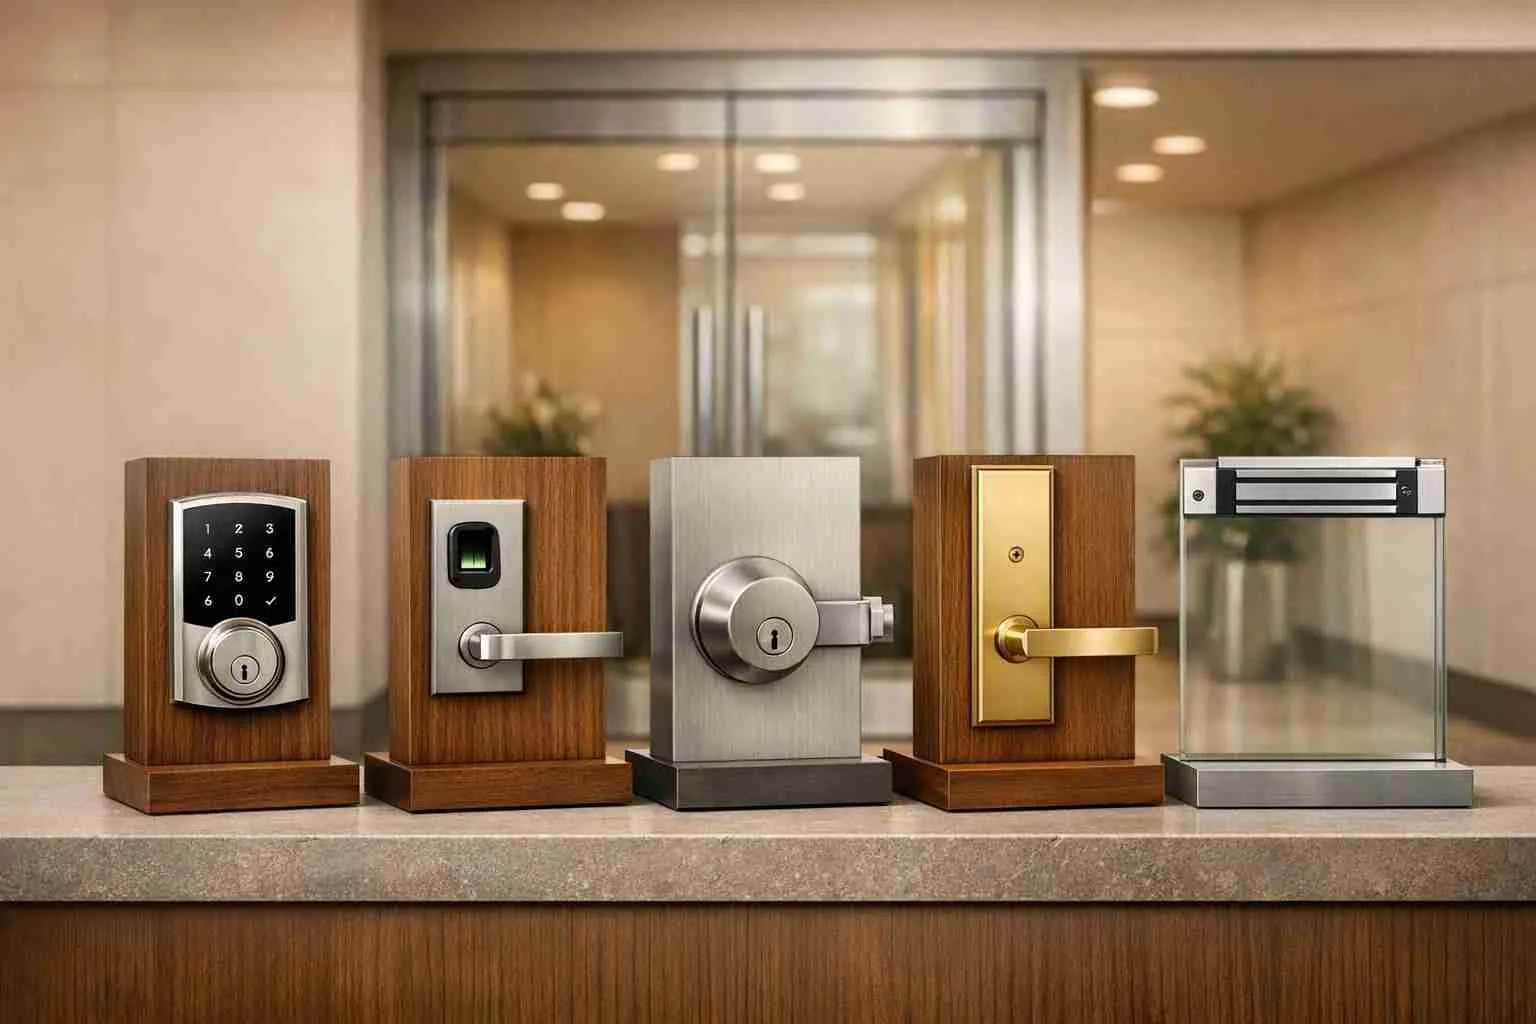
When it comes to deadbolts, not all locks are created equal. The American National Standards Institute (ANSI) and the Builders Hardware Manufacturers Association (BHMA) grade locks from 1 to 3 based on their strength and durability. Grade 1 locks are the toughest, able to withstand 10 strikes of 75 pounds of force, while Grade 3 locks, meant for interior doors, may fail after just 2 strikes. Grade 1 deadbolts are also tested to last through 800,000 cycles, offering double the durability of Grade 2 locks.
For the best protection, use Grade 1 deadbolts on all main exterior doors, including the door connecting your garage to your house. Grade 2 locks are a good option for secondary exterior doors, balancing security and cost. Avoid Grade 3 locks for any exterior entry, they simply don’t offer enough protection.
| Feature | Grade 1 (Highest) | Grade 2 (Moderate) | Grade 3 (Basic) |
|---|---|---|---|
| Primary Use | Exterior/Commercial | Residential Exterior | Interior Doors Only |
| Strikes (75 lbs force) | 10 strikes | 5 strikes | 2 strikes |
| Cycle Test | 800,000 cycles | 400,000 cycles | 200,000 cycles |
| Latch Strength | 1,200 lbs | 600 lbs | 600 lbs |
| Cost Range | $25 to $60 (traditional) $200 to $250 (high-security) $200 to $320 (smart) |
Varies | Not recommended for exterior |
Rekey Locks for Better Security
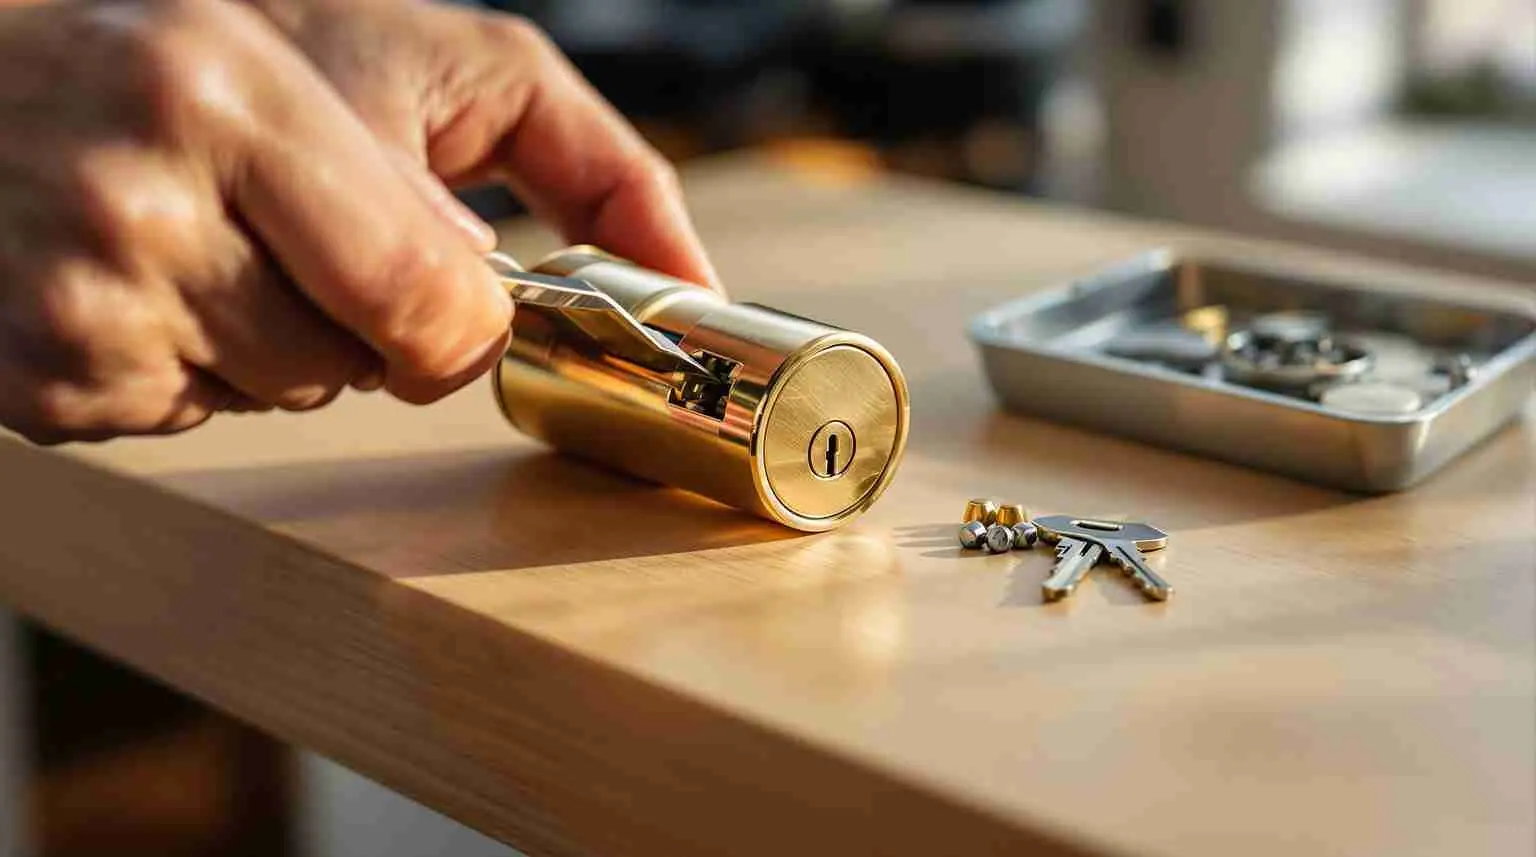
Rekeying is a cost-effective way to secure your home without replacing the entire lock. By changing the internal pins, your lock will work with a new key, rendering old keys useless. This is especially helpful if you’ve lost a key, had a break-in, or suspect someone might have unauthorized access.
Professional rekeying services typically start at $25 per lock, while installing new locks starts at $60. Roadrunner Lock and Key offers expert rekeying to help you regain exclusive access to your home without breaking the bank. They can also set up a master key system, letting you use one key for multiple locks, a convenient solution that eliminates juggling multiple keys.
To further enhance your home’s security, consider adding motion-activated outdoor lighting. It’s a simple way to deter potential intruders while improving visibility around your property.
2. Install Motion-Activated Outdoor Lighting
After upgrading your door locks, adding motion-activated outdoor lighting is a smart next step for bolstering home security. These lights are designed to deter intruders by instantly illuminating dark areas when they detect movement, making it harder for anyone to hide. As Eugene Klimaszewski, President of Mammoth Security Inc., puts it:
"They deter potential intruders by illuminating dark areas of a property when movement is detected. This visibility not only discourages trespassers but also enhances safety for residents by lighting up walkways or stairs at night".
Beyond just scaring off intruders, motion-activated lights reduce hiding spots and can alert neighbors to unusual activity. Unlike traditional lights that stay on all night, these only activate when needed, helping you save on electricity while maintaining effective security. With a detection range of up to 100 feet and activation periods lasting 30 to 90 seconds, they provide a balance of efficiency and protection. For optimal security, aim for lights that produce between 700 and 1,500 lumens and install them 6 to 10 feet off the ground. Professional installation typically costs between $350 and $500, which includes both materials and labor.
Focus on Entry Points and Blind Spots
Start by illuminating all key entry points, including your front door, back door, side doors, and the door connecting your garage to your house. Statistics show that 34% of burglars enter through the front door, making it a critical area to secure, while 22% use backyard access. Ground-floor windows are another common entry point, accounting for 23% of break-ins.
Don't overlook driveways and garages, where 60% of nighttime break-ins occur. These areas are often targeted for vehicle and tool theft. Other important spots include side yards, corners of your home, areas near fences, and storage sheds, places where intruders might hide. To ensure full coverage, position multiple lights so their beams overlap, leaving no dark gaps. Hooman Shahidi, Chief Product Officer at SimpliSafe, recommends:
"It is best to direct the line of sight towards the entry and points of your home, such as your driveway, front porch or backyard. That way, if someone steps into the line of sight, the light will automatically ignite, thereby deterring unwanted visitors".
Use Energy-Efficient LED Bulbs
For outdoor security lighting, LED bulbs are an excellent choice. They provide powerful brightness, up to 2,000 lumens, while using far less energy than halogen or incandescent bulbs. LEDs also last much longer, with some rated for up to 50,000 hours, reducing the need for frequent replacements and lowering maintenance costs. Smart-controlled LED lights can even cut energy expenses by up to 70%.
When selecting brightness levels, consider the area you're lighting. Driveways and large spaces typically require 1,500 to 2,000+ lumens, while entry points like front doors work well with 1,000 to 1,500 lumens. Pathways and stairs need slightly less, around 800 to 1,000 lumens. Choose fixtures with an IP65 rating or higher to ensure they can withstand rain, snow, and dust. Adjust sensitivity settings to minimize false triggers from small animals or wind-blown debris, and for added security, pair your lights with surveillance cameras. This combination not only enhances your safety but also strengthens your overall home defense strategy.
3. Secure Windows with Locks and Reinforcements
Windows are a common weak point in home security, about 23% of burglars use first-floor windows to gain entry. Much like securing doors and using proper lighting, reinforcing windows is a key part of a solid home security plan. Standard factory latches are designed more for weatherproofing than for security, making them easy to bypass. Sliding windows are particularly vulnerable, as intruders can lift the panels out of their tracks if they’re not properly secured. Adding secondary locks and physical reinforcements can make breaking in through a window much harder and more time-consuming.
Install Pin Locks or Track Blockers
Pin locks are a practical and effective solution for double-hung and sliding windows. By drilling through both window frames and inserting a steel pin, you can prevent the window from sliding or being lifted out. For added security, drill the hole at a slight downward angle to keep the pin firmly in place. These locks are budget-friendly, typically costing between $10 and $50 each.
For sliding windows, you can use track clamps or a Charley bar, a simple metal rod placed in the track, to block the window from moving, even if the latch is compromised. If you prefer to keep windows slightly open for ventilation, hinged wedge locks allow you to secure the window in a partially open position (less than 6 inches), ensuring airflow without sacrificing safety. Another useful trick is to drive sheet-metal screws partway into the upper tracks of sliding windows. This prevents the sash from being lifted over the lower track. These additions significantly enhance window security and work well alongside other home protection measures.
Use Security Film or Shatter-Resistant Glass
While locks keep windows from being opened, security film protects the glass itself. This transparent layer adheres to the window and holds shattered glass together if struck. This forces intruders to hit the glass repeatedly to create an opening large enough to climb through, a noisy and time-consuming process. Security film costs between $3 and $8 per square foot and can delay a break-in by 30 seconds to several minutes, often enough to deter burglars who rely on speed and stealth. Robert Callaway, owner of Callaway Security, emphasizes:
"Standard factory locks barely slow down experienced burglars, while thin glass shatters easily under pressure or impact".
For areas at higher risk, consider upgrading to laminated glass. This type of glass consists of two panes fused to a plastic interlayer, which stays intact even after repeated impacts. For maximum protection, polycarbonate shields are an option, they’re about 300 times more impact-resistant than standard glass but come with a much higher price tag, costing roughly four times as much. Focus these reinforcements on ground-floor windows and those hidden from street view, as these are the most likely targets.
4. Install a Professional Home Security System
Adding a professionally monitored security system to your home provides a crucial layer of protection that physical measures like locks and lights can't fully achieve. While sturdy locks and bright outdoor lighting help deter intruders, a monitored system ensures that someone is always ready to respond, no matter where you are. Statistics show that homes without security systems are three times more likely to be burglarized, and 83% of burglars actively look for signs of a monitored system before deciding on a target. Even better, 95% of burglars flee as soon as an alarm sounds, making these systems an incredibly effective deterrent.
Professional monitoring services operate 24/7, typically responding to alarms within 30 to 60 seconds. Once an alarm is triggered, trained personnel verify the situation and contact emergency services, reducing police response times from an average of 45 minutes to just about 7 minutes. As Cathy Habas, a contributor to SafeWise, points out:
"If you're serious about protecting your home, professional monitoring is the way to go. When I was self-monitoring my system, I missed important alerts because my phone was on silent".
Modern systems go beyond burglary prevention, offering sensors for fire, carbon monoxide, floods, and even freezing temperatures. Many also integrate with smart home platforms like Amazon Alexa, Google Assistant, or Apple HomeKit, letting you control locks, lights, and thermostats with automated routines. Costs for monitoring range from $15 to $53 per month, averaging around $32.26. Starter equipment kits typically cost between $200 and $600, and professional installation fees fall between $99 and $199. As a bonus, many insurance companies offer discounts of 10% to 25% on homeowners insurance for homes equipped with these systems.
Choose Between DIY and Professional Monitoring
When deciding between DIY and professional monitoring, consider how much responsibility you're comfortable taking on. DIY systems send alerts directly to your smartphone, leaving you to evaluate the situation and contact emergency services if needed. On the other hand, professional monitoring takes this burden off your shoulders. Trained agents automatically verify alarms and dispatch help, ensuring assistance arrives even if you're unavailable.
| Feature | DIY Monitoring | Professional Monitoring |
|---|---|---|
| Notifications Sent To | Homeowner (Mobile App) | Professional Monitoring Center |
| Emergency Response | Homeowner must call 911 | Center dispatches authorities |
| Monthly Cost | $0 to $10 | $15 to $60+ |
| Reliability | Dependent on phone/signal | 24/7 redundant coverage |
| Insurance Discount | Rarely eligible | Often eligible (10-25%) |
Professional systems also use dual connectivity, Wi-Fi and cellular backup, to ensure alarms are reliably transmitted. Look for systems with at least 24 hours of battery backup and hardware listed to UL or ETL standards. Regularly test your system by performing a "walk test" of all sensors and checking the cellular failover twice a year.
Use Visible Deterrents
Visible signs of a security system can be just as effective as the system itself in discouraging intruders. About 80% of burglars check for signs of a security system before attempting to break in, and 60% abandon their plans if they spot yard signs, window decals, or cameras [52,56]. Place signs along main approach paths like front walkways, side gates, and driveways. Ground-floor windows and entry doors are ideal spots for decals. Even if burglars suspect these signs might not be real, the psychological impact is often enough to make them move on.
Adding external sirens can further enhance your home’s security. These devices not only alert neighbors but also create enough noise to scare off intruders. Mount them high, at least 8 to 10 feet, to prevent tampering, and ensure they emit at least 85 decibels. Visible cameras at key entry points reinforce the message that your home is under constant watch. As crime prevention expert Leonard Sipes puts it:
"If homeowners take any precautions, burglars will go elsewhere".
5. Install Security Cameras at Key Locations
Security cameras are an essential layer of protection, combining surveillance with a visible deterrent. They not only monitor activity but also discourage potential intrusions. Statistics show that about 34% of burglars enter through the front door, 22% use the back door, and 23% break in through rear or off-street windows to avoid being seen. By placing cameras in these vulnerable areas, you create a network that captures evidence and reduces the likelihood of unauthorized entry.
When selecting cameras, focus on features tailored to your property's needs. Outdoor cameras should have strong weather resistance, look for a minimum IP65 rating, with IP67 being ideal for harsher conditions. Features like HDR can minimize sun glare, while advanced options such as person detection, infrared night vision, or motion-activated LED lighting ensure visibility even in complete darkness.
Place Cameras at Main Entry Points
Start by securing all ground-floor entry points, including front, back, and side doors, as these are common targets for break-ins. Don’t forget to cover your driveway and garage, as they often house high-value items and can provide direct access to your home. Interestingly, the National Insurance Crime Bureau reports that 34% of stolen vehicles are recovered within 24 hours, emphasizing the importance of driveway surveillance.
For optimal placement, mount cameras 8 to 10 feet above ground, this height discourages tampering while still capturing clear facial details. Position them below light fixtures to maintain good illumination without the light interfering with the lens. To reduce glare, aim cameras away from direct sunlight, ideally facing north or under eaves. Amanda Li from Reolink offers this advice:
"Place your camera at second-floor level to avoid a burglar from knocking out your camera".
Before finalizing a location, test the camera for 24 hours to ensure stable connectivity and clear footage, regardless of lighting conditions. This simple step ensures your system works seamlessly as part of your broader home security plan.
Choose Cameras with Remote Monitoring
Modern security cameras often come with mobile apps, allowing you to view live feeds and receive real-time alerts from anywhere. Opt for cameras with cloud storage to securely back up footage, protecting your evidence even if the camera is damaged or stolen. Wide-angle lenses, ranging from 130° to 180°, help minimize blind spots and provide comprehensive coverage. Home security expert Paul Frew highlights the importance of this:
"Strategic yard coverage can detect suspicious activity before it reaches your home, with many modern cameras offering person detection to reduce false alerts from animals".
To maintain clear video quality, clean your camera lenses monthly with a microfiber cloth, this simple task can prevent up to a 30% loss in image clarity.
6. Reinforce Door Frames, Hinges, and Strike Plates
Adding stronger locks and better lighting is a great start, but reinforcing your door's structure takes home security to the next level. These upgrades ensure that even the toughest locks do their job by keeping your entry points solid and resistant to force.
Here’s the issue: even the best deadbolt won’t help if the door frame gives way. Most homes come with standard screws that are only 1/2 to 3/4 inches long. These screws barely reach beyond the thin door jamb and don’t anchor into the sturdy wall studs behind it. This makes doors vulnerable to being kicked in, something that can happen in less than five seconds with a typical residential door. Considering that 55.7% of burglaries in the U.S. involve forced entry, reinforcing your door frame is a smart and affordable way to boost security.
Start by replacing those short screws with 3- to 3.5-inch hardened steel screws for your hinges and strike plates. These longer screws anchor securely into the structural studs behind the frame. When installing them, stagger their placement to avoid splitting the wood. As Acme Locksmith advises:
"The best and simplest thing you can do to prevent door kick ins is to replace the screws securing your door to the door frame."
Next, upgrade to a heavy-duty strike plate. Look for an elongated or box-style plate that uses four or more screws instead of the standard two. This spreads the force over a larger area, reducing the chance of the wood splintering during an attempted break-in. Adding a metal reinforcement plate over the door jamb strike area further strengthens it and protects against splitting. If you’re handy, a DIY door reinforcement project can cost between $100 and $200. Hiring a locksmith, on the other hand, typically costs between $107 and $242.
Don’t forget about the door itself. Reinforce the edge where the latch and deadbolt sit by installing a metal door wrap or edge plate. This simple addition helps prevent the door from cracking under pressure. For added stability, fill any gaps in the door jamb with wooden shims before securing it with screws.
Doug Sluga, a carpenter with years of experience, sums it up well:
"A small investment in upgraded deadbolt assemblies and strike plates pays dividends by hardening doors against break-ins and preserving home valuation."
7. Secure Sliding Doors and Garage Doors
Sliding glass doors and garage doors are common weak spots in home security. Statistics show that 23% of burglaries involve entry through a first-floor window or sliding door, while over 9% happen through garages. These areas require specific attention to bolster security, complementing earlier measures like reinforced locks and frames.
Sliding doors, in particular, pose a unique risk. Their factory latch locks are designed for privacy, not protection, and can often be bypassed in less than 10 seconds with basic tools. Older sliding door models are especially vulnerable. As Craig Ricks Jr., President of Acadian Windows and Siding, points out:
"Older models tend to use standard tempered glass, which is easy to shatter, as well as weak locking mechanisms on exposed tracks."
Garages, on the other hand, present a different challenge. Thieves can exploit the emergency release mechanism using something as simple as a wire coat hanger, gaining entry in just 6 to 10 seconds. Once inside, they can quietly work on the door connecting the garage to your home, which is often the weakest point in your security setup.
Use Anti-Lift Devices for Sliding Doors
One quick and affordable way to secure sliding doors is by placing a security bar in the bottom track. These bars, which cost around $20 to $35, prevent the door from sliding open. For a more budget-friendly option, a wooden dowel priced at $3 to $5 can also work, though it may break under force.
To stop thieves from lifting the door off its track, install #8 or #10 sheet metal screws in the upper track channel at 6-inch intervals. These screws should leave just enough clearance for smooth sliding but not enough for the door to be lifted out. For added protection, apply 8-mil (or thicker) security film, costing about $50 to $80 per door, that meets ASTM standards. This film makes it harder to break the glass during a forced entry attempt.
Secure Garage-to-House Entry Doors
While sliding doors need anti-lift measures, the door connecting your garage to your home requires stronger reinforcements. This door should be treated with the same level of security as your front door. Replace any hollow-core door with a solid-core wood or steel door, which costs between $150 and $400. Pair it with an ANSI Grade 1 deadbolt and a reinforced strike plate secured with 3-inch screws into the wall studs. Robert Callaway, Owner of Callaway Security & Sound, stresses the importance of this step:
"If garage is compromised, this [interior door] becomes your only barrier."
For the garage door itself, consider installing a garage shield ($20 to $40) to block access to the emergency release mechanism, preventing the wire hanger trick. Another option is to secure the release lever to the carriage with a light-duty zip tie, strong enough to resist tampering but designed to break during an actual emergency.
Lastly, avoid leaving garage door remotes on your car's visor. If your car is broken into, the remote provides direct access to your home. Instead, opt for a keychain remote or a smartphone app for added security.
8. Update Security Codes and Smart Devices
Once you've secured your home's physical entry points, it's time to focus on the digital side. Smart devices like locks, keypads, and garage door openers offer convenience, but they also come with risks. Surprisingly, around 70% of smart lock breaches happen because of weak or shared codes, not high-tech hacking. The problem often lies in how access codes are managed. Using factory default settings or obvious codes like "1234" or your street address makes it far too easy for someone to gain unauthorized access.
Start by replacing all default codes on your smart devices as soon as they’re installed. This includes the lock itself, management apps, your Wi-Fi hub, and your router. Choose strong, lengthy codes, an 8-digit code is much harder to crack than a 4-digit one. Avoid using personal information like birthdays, phone numbers, or ZIP codes. Instead, try converting a phrase into numbers; for example, "safe home" could translate to 72334663.
Make it a habit to update your codes twice a year, or immediately if you suspect they've been compromised. Temporary codes for guests or service workers should be deleted as soon as they’re no longer needed. Moving into a new home? Update all digital security codes before you unpack. If your garage door opener is over a decade old, consider upgrading to a rolling-code model. These modern openers, usually priced between $150 and $300, change their access code with every use, making it nearly impossible for someone to intercept and reuse the signal.
Secure your smart lock’s management app with a unique password of at least 12 characters and enable two-factor authentication, app-based options are safer than SMS. Since these devices rely on your home Wi-Fi, ensure your router is protected with WPA2 or WPA3 encryption and a strong password. Disable risky features like WPS and UPnP, and always enable automatic firmware updates. As Cody Feng, Test Engineer for Privacy and Security at Consumer Reports, explains:
"automatic updates can shorten the amount of time that devices remain vulnerable to unpatched security flaws".
For added security, assign unique codes to each person who needs access. This not only creates accountability but also makes it easy to revoke someone’s access without disrupting others. Regularly review access logs and audit codes every three months. Never write down access codes or store them in an unencrypted format. SafeWise offers this reminder:
"make sure you keep it secret and never enter it in front of delivery people, neighbors, or anyone else".
9. Create a Nightly Security Routine
Make it a habit to go through a nightly security routine, locking every door and window, since nearly 28% of burglaries occur because of unlocked entries. Robert Callaway, Owner of Callaway Security, emphasizes:
"Lock all doors and windows every time you leave and even when you're home. 28% of burglaries exploit unlocked entries."
Start by walking through your property and checking every exterior door. This includes the front, back, and side doors, as well as the often-overlooked door connecting the garage to your home. This step ensures the most vulnerable points are secured. Since windows account for 23% to 25% of break-ins, double-check that all windows, especially those on the ground floor and basement, are closed and locked. Don’t forget to secure your garage, lock both the main garage door and the interior door leading into your house.
While upgraded locks and cameras add layers of protection, a nightly check ensures these tools are actively working for you. Pay attention to less obvious entry points like sliding glass doors and backyard gates. Close blinds and curtains to keep valuables out of sight from potential intruders. Before wrapping up, arm your security system and confirm that outdoor motion-activated lights are operational.
For added convenience, integrate smart home technology into your routine. Use a single command to lock doors, secure the garage, and activate your security system. Many security apps also allow you to check the status of locks and sensors remotely.
10. Take Action to Secure Your Home
In the United States, a burglary happens every 26 seconds, with each incident resulting in an average loss of $2,800. The good news? Most break-ins can be stopped with the right precautions. By following the strategies in this checklist, you can make your home far less appealing to burglars.
Taking action starts with a layered defense strategy. By combining physical barriers and visible deterrents, as discussed earlier, you can stop 95% of break-in attempts in under a minute. Homes with visible security features are also 2.7 times less likely to be targeted.
To simplify the process, here’s a focused three-week action plan to improve your home’s security:
- Week 1: Install Grade 1 deadbolts and reinforce strike plates. Start a nightly routine to ensure all doors and windows are locked.
- Week 2: Add motion-sensor lights to every entry point and secure ground-floor windows with secondary locks.
- Week 3: Set up an alarm system or security cameras, and make sure to display visible security signs.
While many of these upgrades can be done yourself, a professional service can help identify vulnerabilities you might miss. Companies like Roadrunner Lock and Key offer security assessments, install high-security deadbolts, rekey locks for new homeowners, and even integrate smart lock systems. Professional help ensures critical components, like strike plates, are securely anchored into wall studs for maximum protection.
These steps can transform your home into a safer space, offering both security and peace of mind.
"The ultimate goal is not just protection but also the peace of mind that comes with knowing your home is a secure haven for you and your loved ones.", CPI Security
FAQs
Which security upgrades should I do first on a tight budget?
If you're working with a limited budget, there are plenty of affordable ways to improve home security. Start with stand-alone door and window alarms, these are budget-friendly and provide an immediate deterrent to intruders. Automatic timers for lights are another smart option, giving the impression that someone is home even when you're away. Upgrading your locks with longer screws can make them sturdier and harder to tamper with. You can also add simple barriers like a doorstop alarm or a sturdy rod in the track of sliding doors to enhance security without spending much.
Should I rekey my locks or replace them?
Rekeying is a cost-effective option that involves modifying the internal pins of your existing locks so they work with a new key, without changing the entire lock. This is a great choice if your locks are in good shape but you need new keys, for instance, after moving into a new place.
On the other hand, replacing locks is the way to go if your current ones are worn out, outdated, or if you're looking to upgrade to modern features like keyless entry systems with completely new hardware.
Do I need professional monitoring or is DIY monitoring enough?
Choosing between professional monitoring and DIY monitoring comes down to what you prioritize in a security system.
DIY systems are often more affordable and put you in control of managing alerts. You’ll receive notifications directly and decide how to respond. On the other hand, professional monitoring offers round-the-clock oversight by trained operators who can quickly contact emergency services when needed.
If having a fast, professional response is your top priority, professional monitoring is the better choice. But if you’re looking for a more flexible and budget-conscious option, DIY monitoring can work well, especially when combined with other security measures like reinforced doors or windows.